Build Smart Robot Car Chassis Kit
| Wayne Chen
In this article, you will learn how to build a robotic car chassis kit, which is a commonly used Arduino board. You can watch the video tutorial or follow the written instructions.
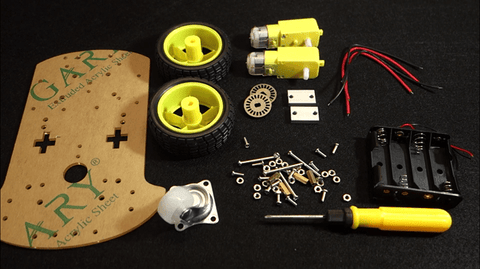
1. Open the package - it has a screwdriver, two DC motors, two wheels and an acrylic car chassis. There is also a small plastic bag with a battery holder inside, a small wheel in front, some bolts and screws, four wires and other components needed to assemble the robot.
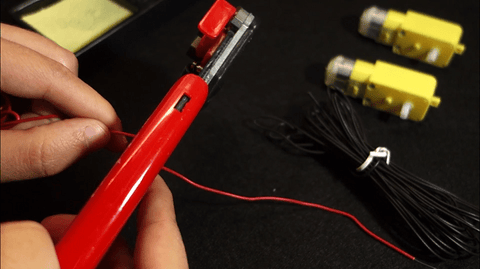
2. Each motor requires a red wire and a black wire. You can use a wire cutter to cut the wire to the length you want.
3. After you have prepared all four wires, you need to solder them to the DC motor. Tin plated on the DC motor pins. Then, grab the wire and solder it to the DC motor pin. Repeat this process to all other connections.

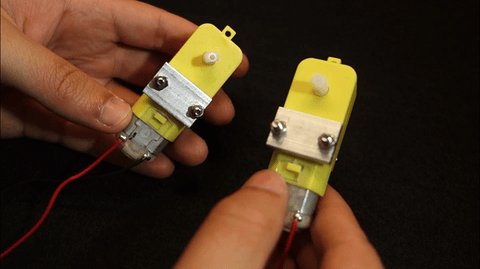
4. Now you need screwdrivers, bolts and screws, and those metal parts. First connect the metal parts to the DC motor.
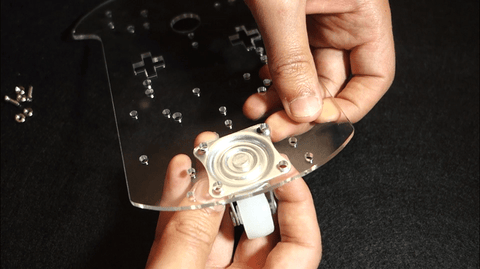
5. Remove the protective adhesive from the acrylic chassis in both sides. Grab the small wheel and attach it to the front part of the chassis.
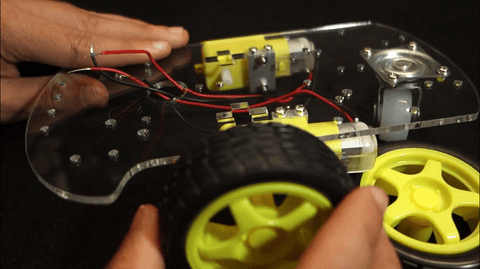
6. Finally, it is time to attach the DC motors to the chassis and connect the wheels to the DC motors.
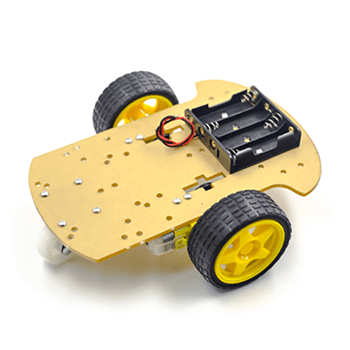
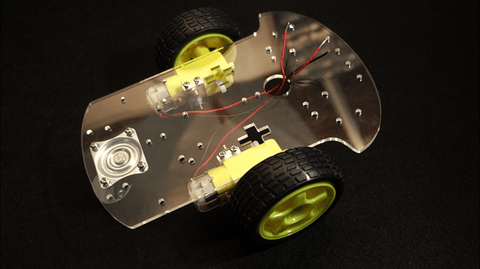
Your robot car chassis is now ready. This is what it looks like after assembly:
Additional tips:
- When making robots with Arduino, we often use Arduino Nano because it is lighter and fits on the breadboard.
- We use a half breadboard, which is more suitable for the robot chassis.
- We usually do not use battery holders. Instead, we recommend using a portable charger (power supply) that is rechargeable, takes up less space, and is more practical.
- We used a Velcro to secure the portable charger and breadboard to the chassis. It's really practical because you can easily attach and detach components without any damage.
6 comments to
Muchas gracias. ?Como puedo iniciar sesion?
aREAGuvqocO
RcKhtNCD
jGhqkiPmTLca
yuZqNkUFb